Part 5: Training and Evaluating
The hard part is done. Now, all we have to do is kick off training and use TensorBoard to monitor the progress.
Starting Training and Evaluation
To start training and evaluating, simply use the following code.
################################
###   Inside code/train.py   ###
################################

# Training/Evaluation Loop
for e in range(params.train_epochs):
    print('Epoch: ' + str(e))
    estimator.train(input_fn=lambda: dataset_input_fn('train'))
    estimator.evaluate(input_fn=lambda: dataset_input_fn('valid'))
Both train and evaluate run until input_fn raises an OutOfRangeError which happens at the end of the dataset since we are using the Dataset and Iterator APIs.
Using TensorBoard to Monitor Progress
The best way to check in on the training of your model is with TensorBoard – another tool built by Google for visualization of TensorFlow projects.
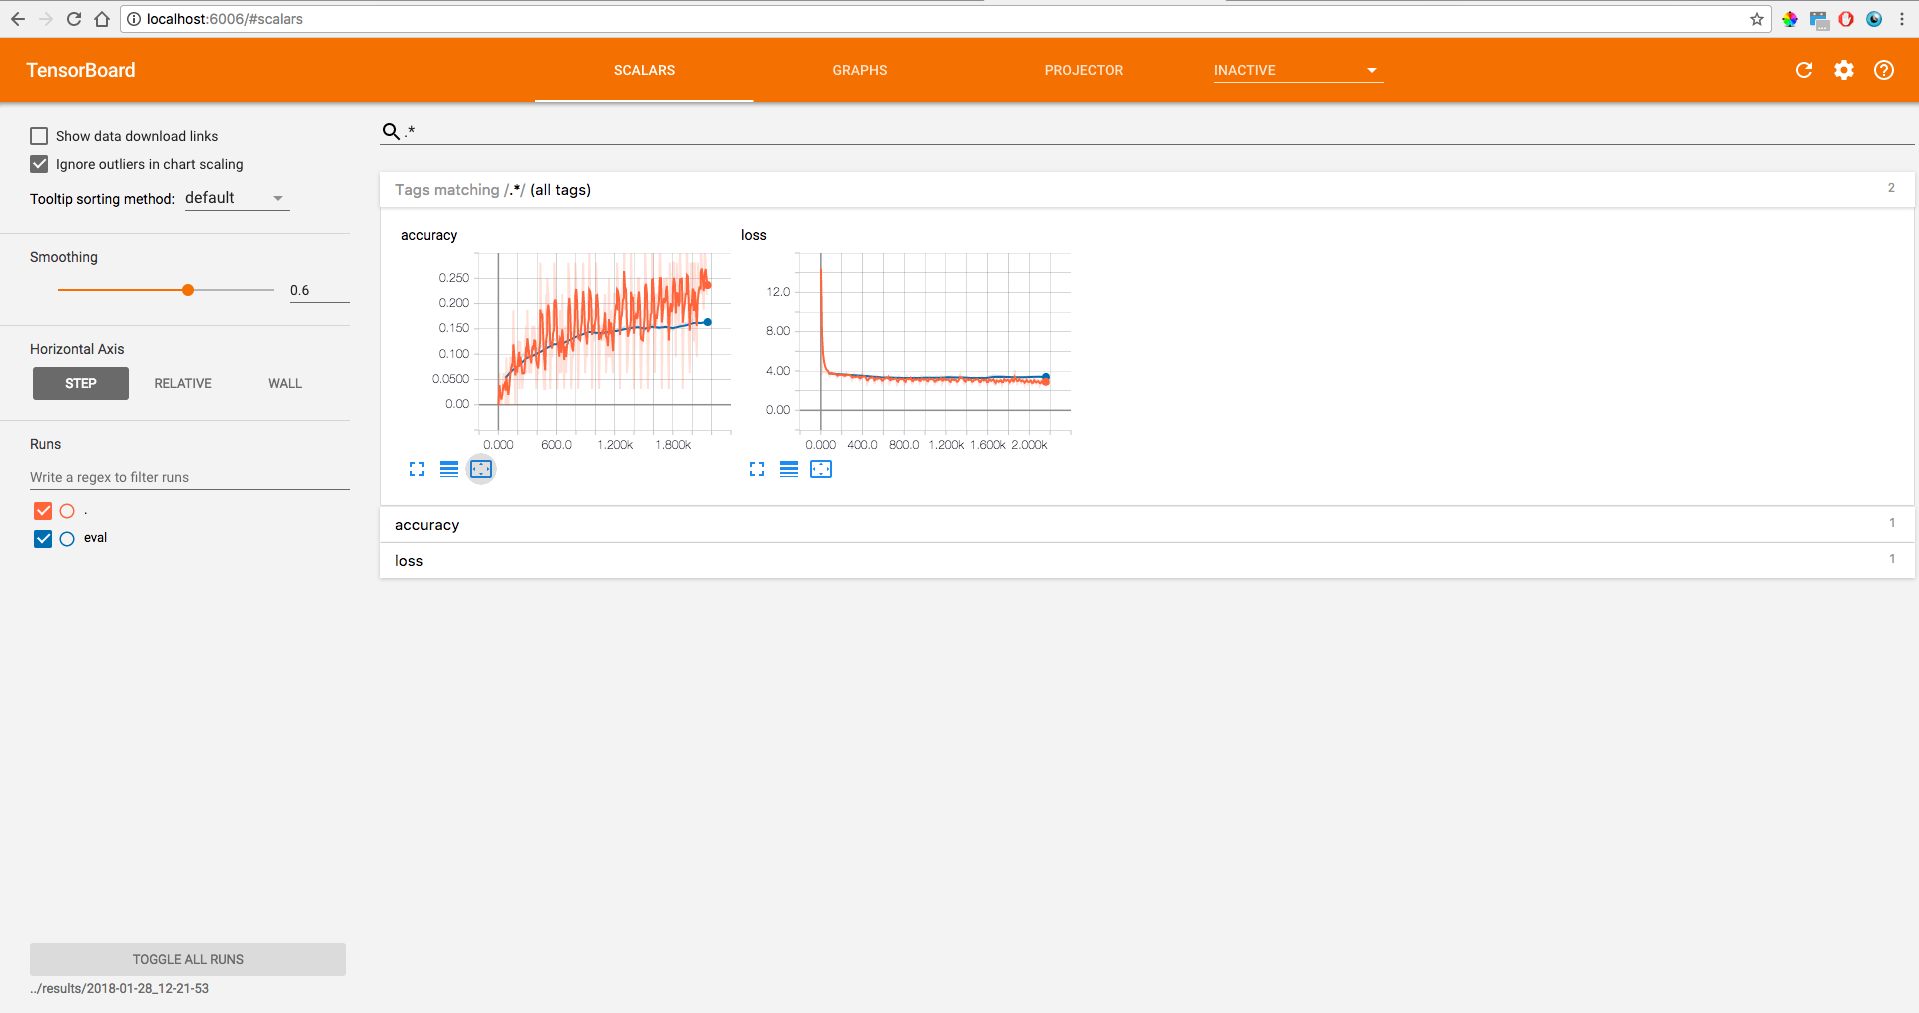
It used to be a bit of a pain to get TensorBoard working but with Estimator’s it’s quite easy. All the metrics we defined in the Part 4 model_fn are automatically written to TensorBoard. Now all we have to do is run the TensorBoard program.
Tip: Right before the training loop I have the following line to make starting TensorBoard one step easier. Copy/paste what it prints out into a terminal to launch TensorBoard.
################################
###   Inside code/train.py   ###
################################
print('tensorboard --logdir=' + str(model_dir))
To see TensorBoard, open a web browser and go to localhost:6000
Tip: If you have multiple models at the same time you can run two instances of TensorBoard, you just need to pass separate port numbers with --port=XXXX
That’s it! Your model is now training, evaluating once at the end of every epoch, and reporting results intermittently to your live updating TensorBoard.
Training Remotely, Monitoring Locally
Often times you will be running your training on a remote server, say you department’s or company’s cluster. If you start a training job on a remote instance and still want to use TensorBoard to track training progress live, I recommend mounting the remote output directory locally with SSHFS. SSHFS gives you a local copy of a remote directory and continually updates the files in that directory as they change. SSHFS should be installed already if you are using Linux. If you using a Mac, you probably need to install SSHFS/Fuse here.
I have a directory that’s only for mounting with SSHFS.
mkdir ~/mnt
Let’s say you are training a model on a remote host remote.school.edu, your username is user, and the output_dir is ~/Documents/project/results/2017-12-04_14-19-29/. You can mount the output directory to your local mount director with:
sshfs user@remote.school.edu:~/Documents/project/results/2017-12-04_14-19-29/ ~/mnt/ -oauto_cache,reconnect,defer_permissions,noappledouble,negative_vncache,volname=MySSHFSMount
I needed the extra flags for connecting between my mac and the particular server I was working with but your setup may be slightly different.
Running Example: the complete (up to this point) train.py file can be found here.
Continue Reading
In Part 6 we will export and load the model back in with a few different methods.